|
7/12/2021 0 Comments Tips for Making a Cutting BoardSelecting Cutting Board MaterialsEvery project starts with material selection and this is no different, but perhaps you need to be a bit more picky than usual for a couple reasons. First your cutting board isn’t going to be very big and so every square inch counts for beauty. Pick woods that will look appealing and have no defects. You absolutely want to use hardwoods over softwoods and the harder/denser the better for durability. I probably don’t have to say it, but I will anyway: Stay away from pressure treated lumber, plywood, MDF, oak, poplar, cedar, pine or really anything that comes from a big box home improvement store. Those materials are meant for, well, home improvement. There, I said it. Lets move on. 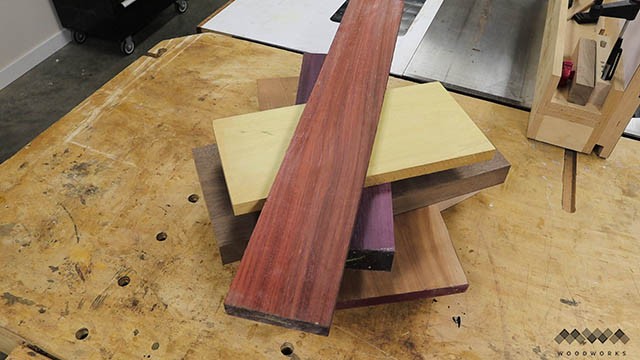 My Favorite Cutting Board HardwoodsAmerican (domestic) hardwoods:
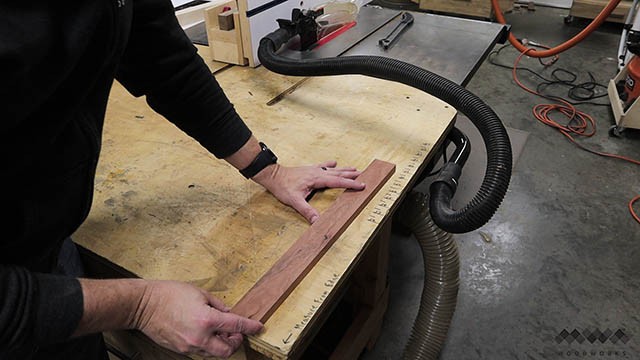 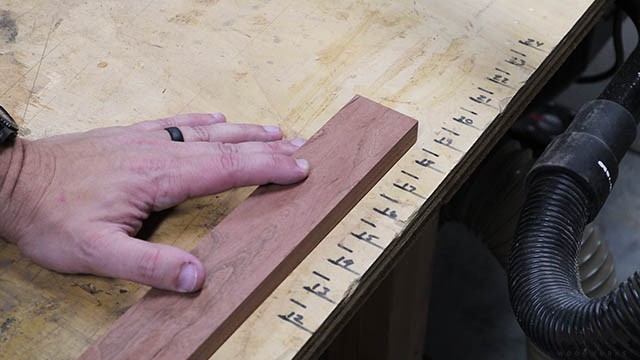 I even made this crude ruler on the side of my work bench to measure the length of the boards I want to use to make sure they will work in my board! Preparing The Cutting Board Parts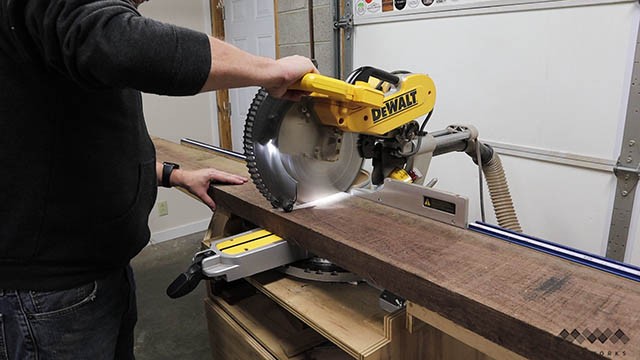 If you’re using long pieces of rough lumber, be sure to cut carefully at the chop saw because any bow in the wood can create a gap between the wood and the fence which when you complete the cut can cause pinching of the blade and KICKBACK! Be sure to complete the cut on the INSIDE portion (closest to the fence) first ans then the OUTSIDE portion. If your board is narrow enough to cut in one downward cut, then you should be fine. 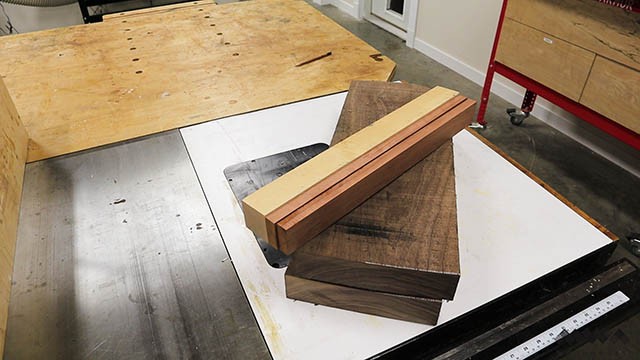 Take a quick moment to make sure you have rough cuts of all the woods going into your board now. This is just good planning before we move on to the next step! 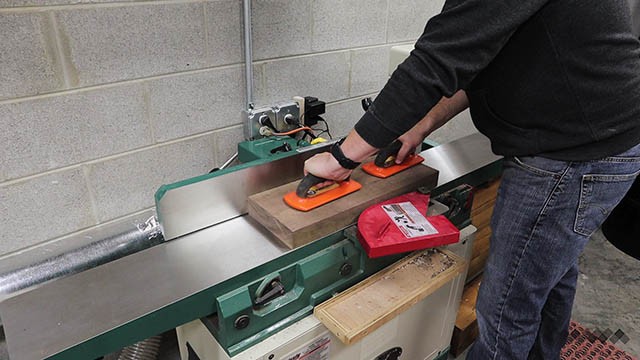 The first thing we need to do is flatten one face of our stock at the jointer. 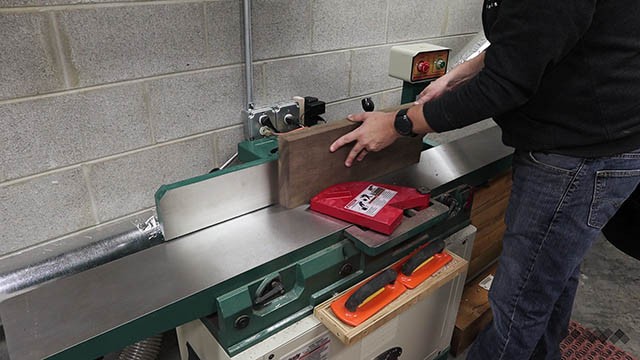 Then place the flattened face against the fence and run one edge across the jointer. This will square up that edge to the flattened face. 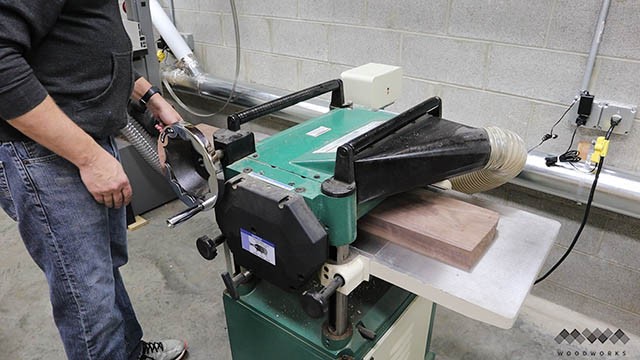 Next, take your parts to the planer and put the flattened face DOWN on the planer bed and flatten the opposite face. Now you have three flat and squared sides. 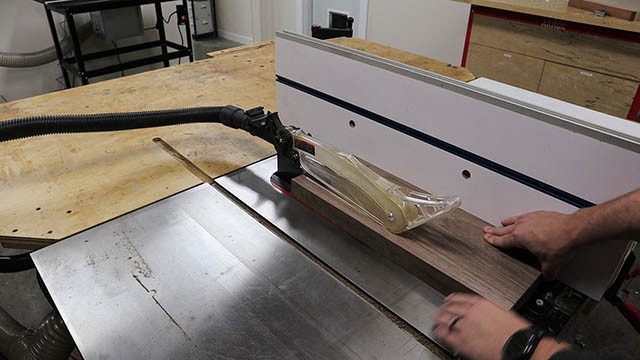 The fourth side can be take care of by ripping it at the table saw (well, most of the time it can) Getting Nice Glue Joints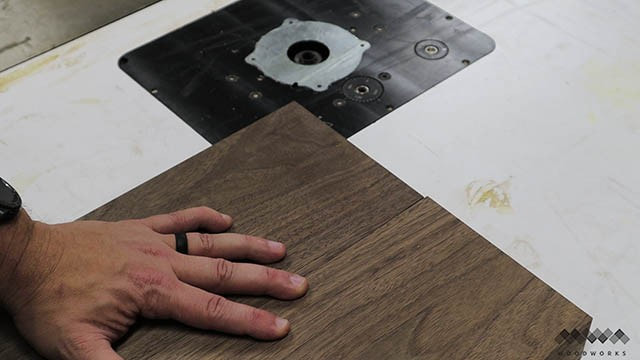 You can see here that this edge I ripped at the saw is kind of gappy on one end. That will cause a glue joint that can fail in the future, so we want to take care of that. 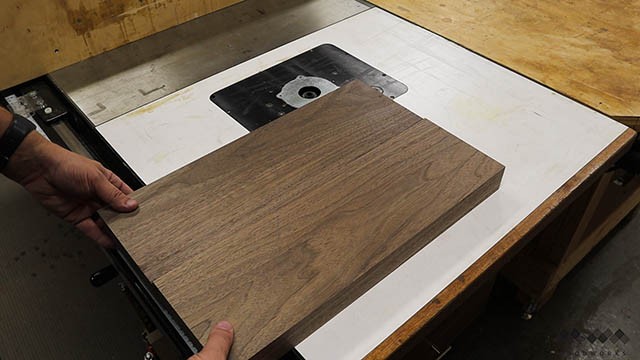 The best way I know to ensure a tight and seamless glue joint in your cutting board is to do the jointer trick. 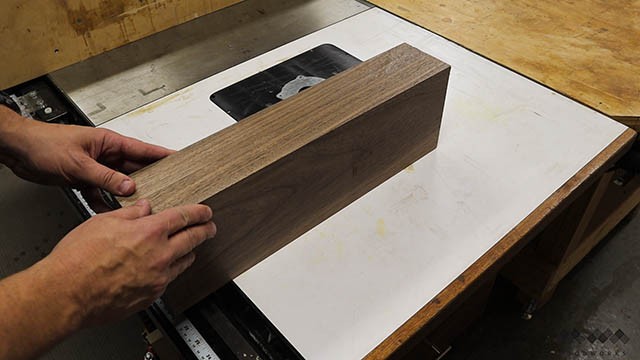 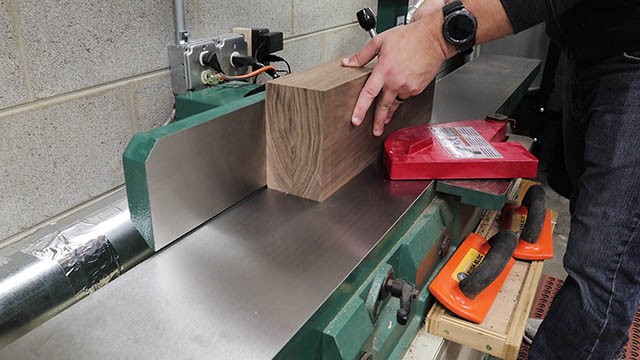 Doing this will cause you to cut supplementary angles on the edges of your work pieces. What this means is that even if your jointer fence is slightly off square, the resulting angles will add up to 180 degrees (flat) and this will match up to one another perfectly. 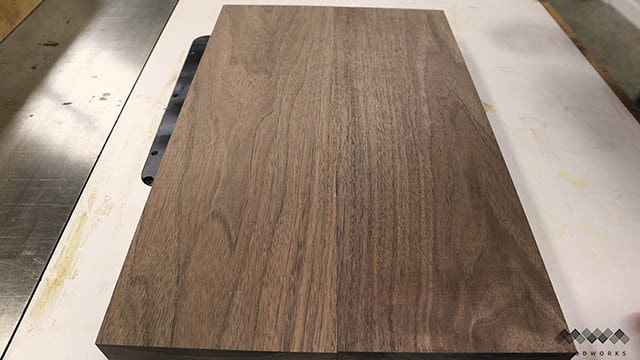 You can see the resulting glue joint here. A tight and seamless joint! Lets move on! Cutting Thin Strips Without a Jig Now that all our parts have been flattened and squared to one another we need to make room for our accent strips  To start, I am ripping 1 inch off the end of this board. 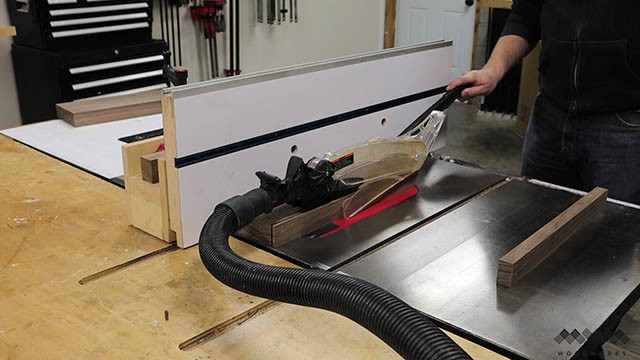 Then I need to make a series of 1/4″ strips for the cutting board. 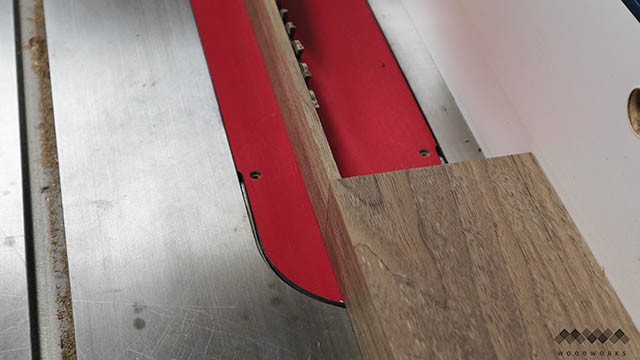 After I cut the first strip, I can line it up against the outside of the blade and move the fence and my work piece until the edge is flush with the outside of the strip. Now when I rip the work piece on the saw it will create a duplicate strip. 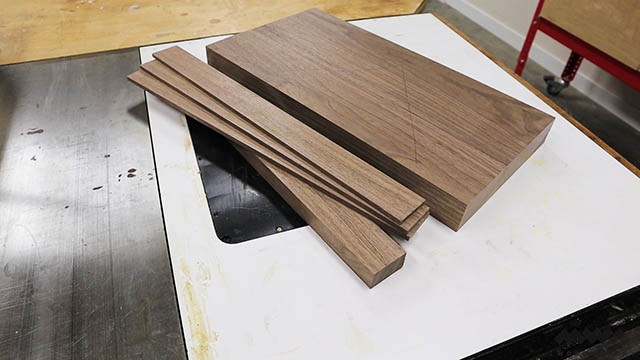 I want a total of three of these 1/4″ strips for my cutting board. 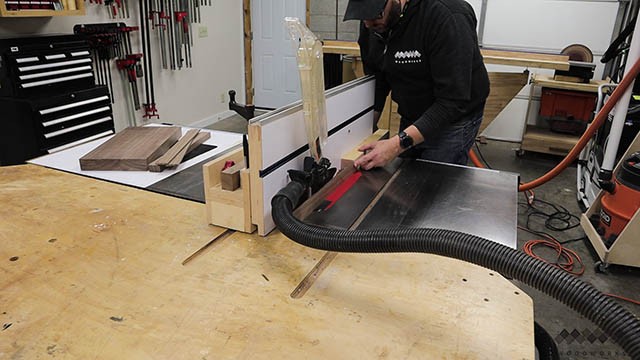 I also want two 1/4″ hard maple strips, so I repeat this process for those. Assembling The Cutting Board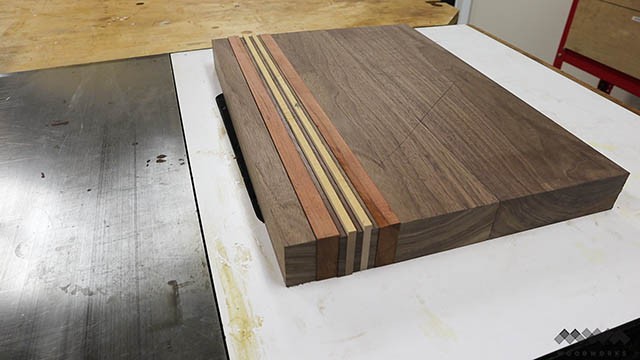 My two cherry accent strips already happened to be flat and square (sometimes I get lucky). So the next thing to do is arrange all the strips of your cutting board to get a visual of what the final board will look like. This gives you a chance to change things up or add other accent strips if you like before you go to the glue-up stage. 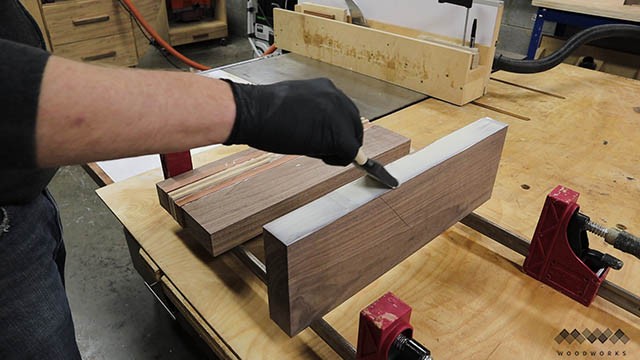 This glue up is simple enough. There are only a few parts and I’ve definitely tackled way more complicated board glue-ups than this one. It shouldn’t take long at all. I like to lay out my parts on the clamps so I don’t accidentally glue the wrong parts together. I then apply a water resistant wood glue using a foam brush. Over the years this has become my go-to way to spread the glue evenly without a fancy applicator. 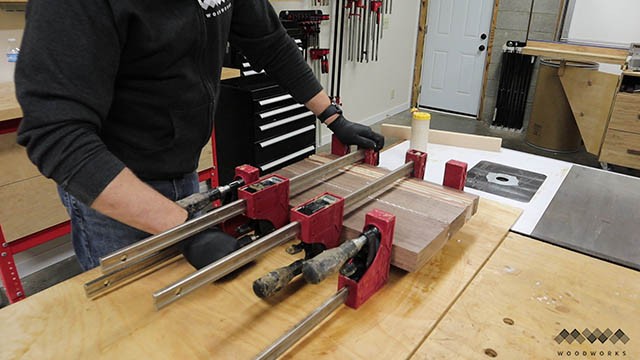 Next I apply pressure with the clamps. Two on top and two on bottom to help prevent warping the cutting board blank. You don’t need a ton of pressure here, just enough to get good even squeeze out along each joint. 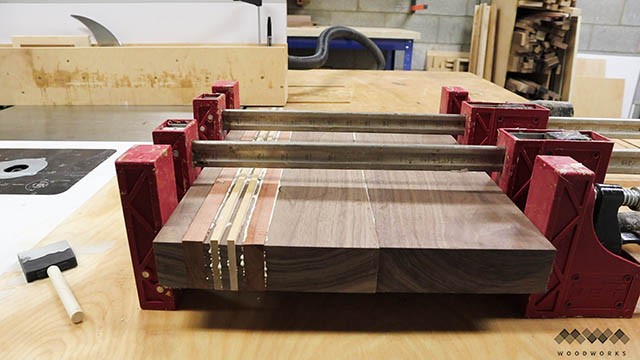 You can see here what the squeeze out looks like. There’s not a ton of excess glue either. Now just let the board sit just like this so the glue doesn’t run down the board. Cleaning Up The Cutting Board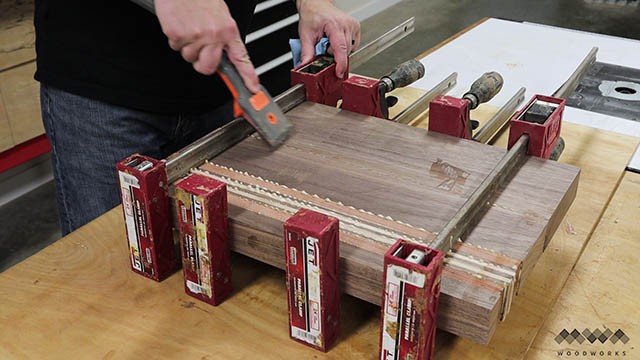 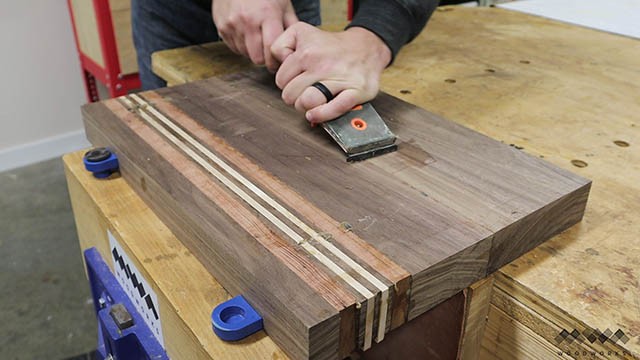 Now with the glue cured and the board out of the clamps, I use a scraper to get any of the left over hardened glue off the surface. This is a good ideas to do now because the next step really works in your favor if the bottom of the board (which you referenced off the clamps to keep flat) is free of glue bumps which can throw off the planer in the next step. 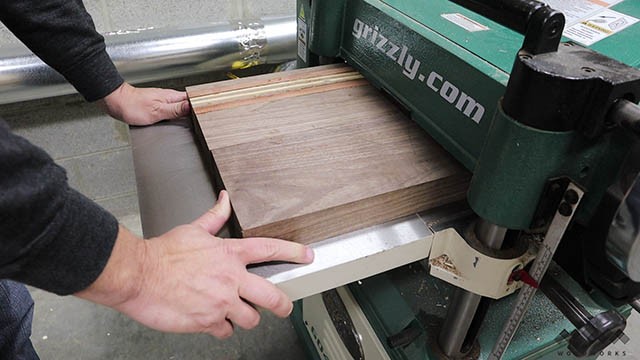 Next we will do a technique called “skip planing” in which we put the flattest side of the work piece down on the bed of the planer and take a very light pass. Then we flip and rotate the board and send it through again taking a shallow skim cut. Square Up The Cutting BoardRepeat this process of flipping the board over and rotating it 180 degrees until both sides of the board are planed flat. This process helps preserve as much of the thickness of the board as possible and helps make the cutting board as flat as possible. 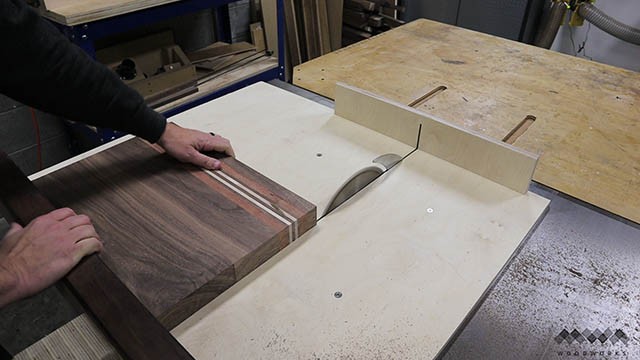 Now that we have a flattened board, we need to square up those rough glued ends. The best way to do this is with your cross cut sled. Pick one long side of your board and place it against the cross cut sled fence. Trim off one end of the board and then flip the board over, keeping the same long side against the fence. Then trim the other end of the board. Doing this ensures that the two ends are square to the one long side which is generally all you need to do. However it may bee necessary to then rip the fourth side parallel to ensure all four sides are square. 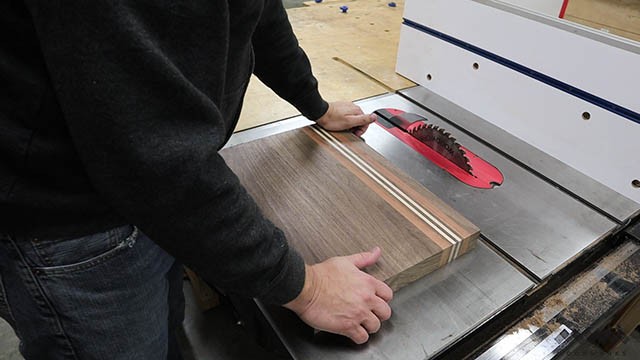 Its also a good idea now to check to see if the board is still flat and hasn’t moved on you. Sometimes doing all this cutting can relieve stresses in the wood causing warping. I use the flat cast iron top of my table saw to check this. You can also use a granite counter top in your kitchen if you don’t have a trusted flat surface in your shop. 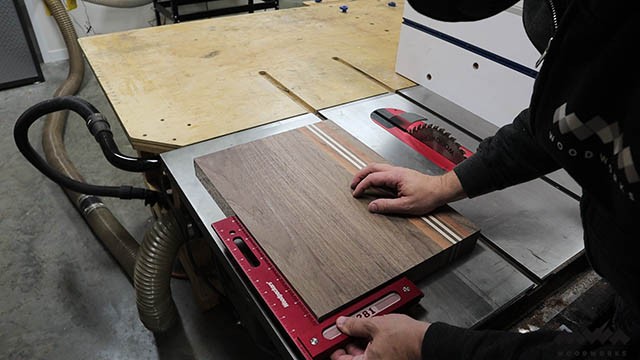 Normally I don’t check all four sides for square because for regular cutting boards there’s no real point. But I want to do something different with this board and it really only works well if the board is square. If you just want a standard cutting board, you can skip down to sanding the board. Otherwise keep reading on! CLICK HERE TO GET PLANS IN 3D
0 Comments
Leave a Reply. |
