|
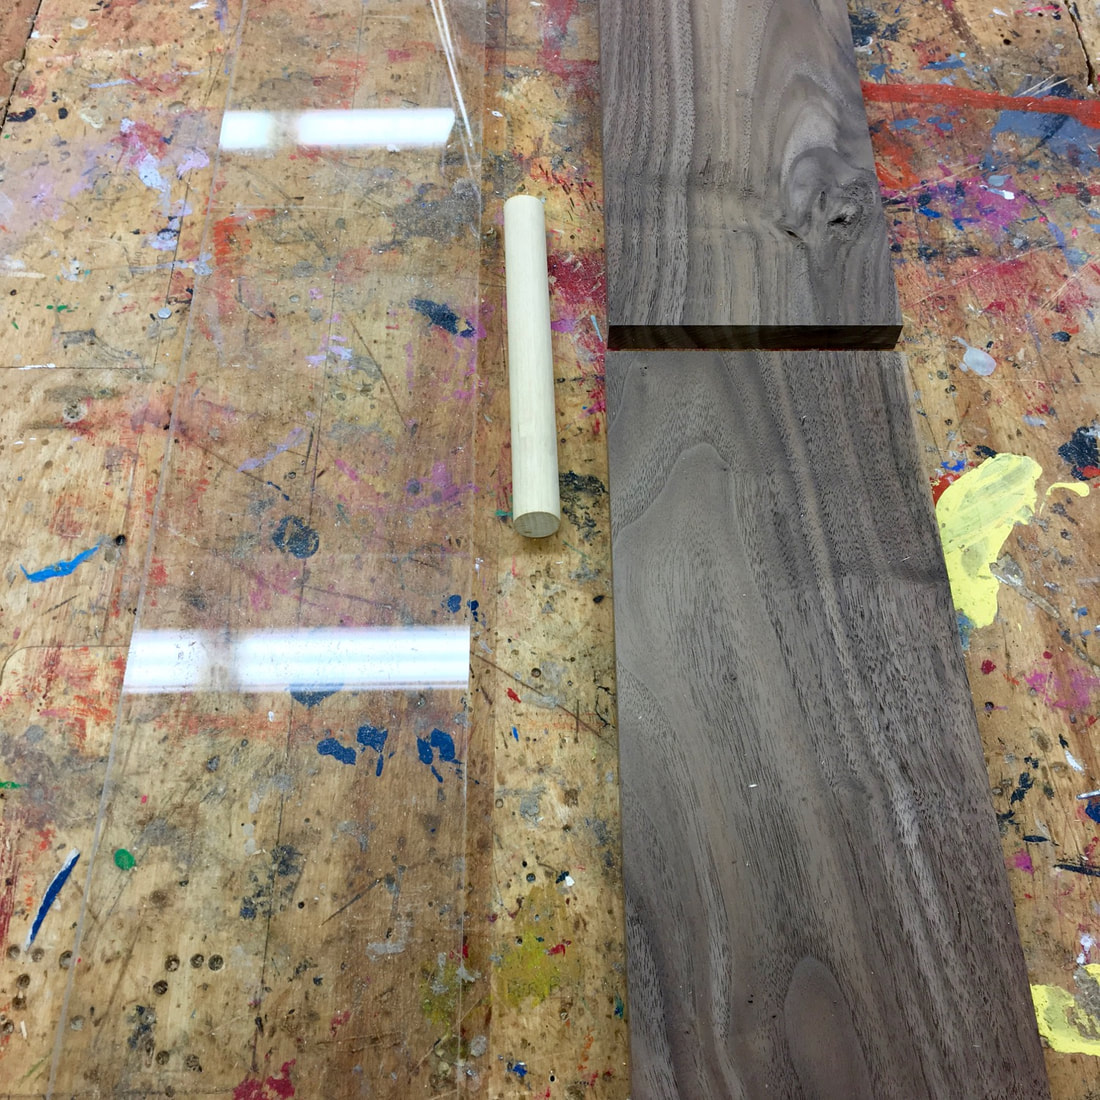
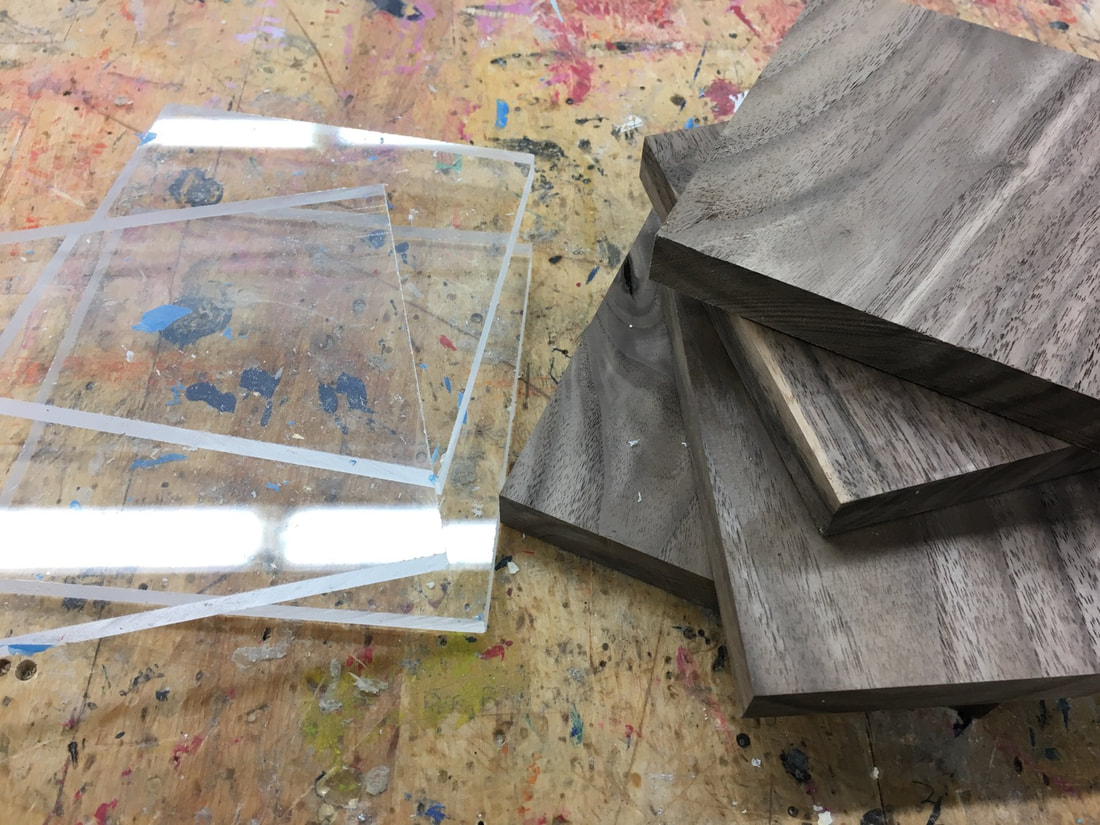
7/10/2021 0 Comments Modern LED Desk Lamp...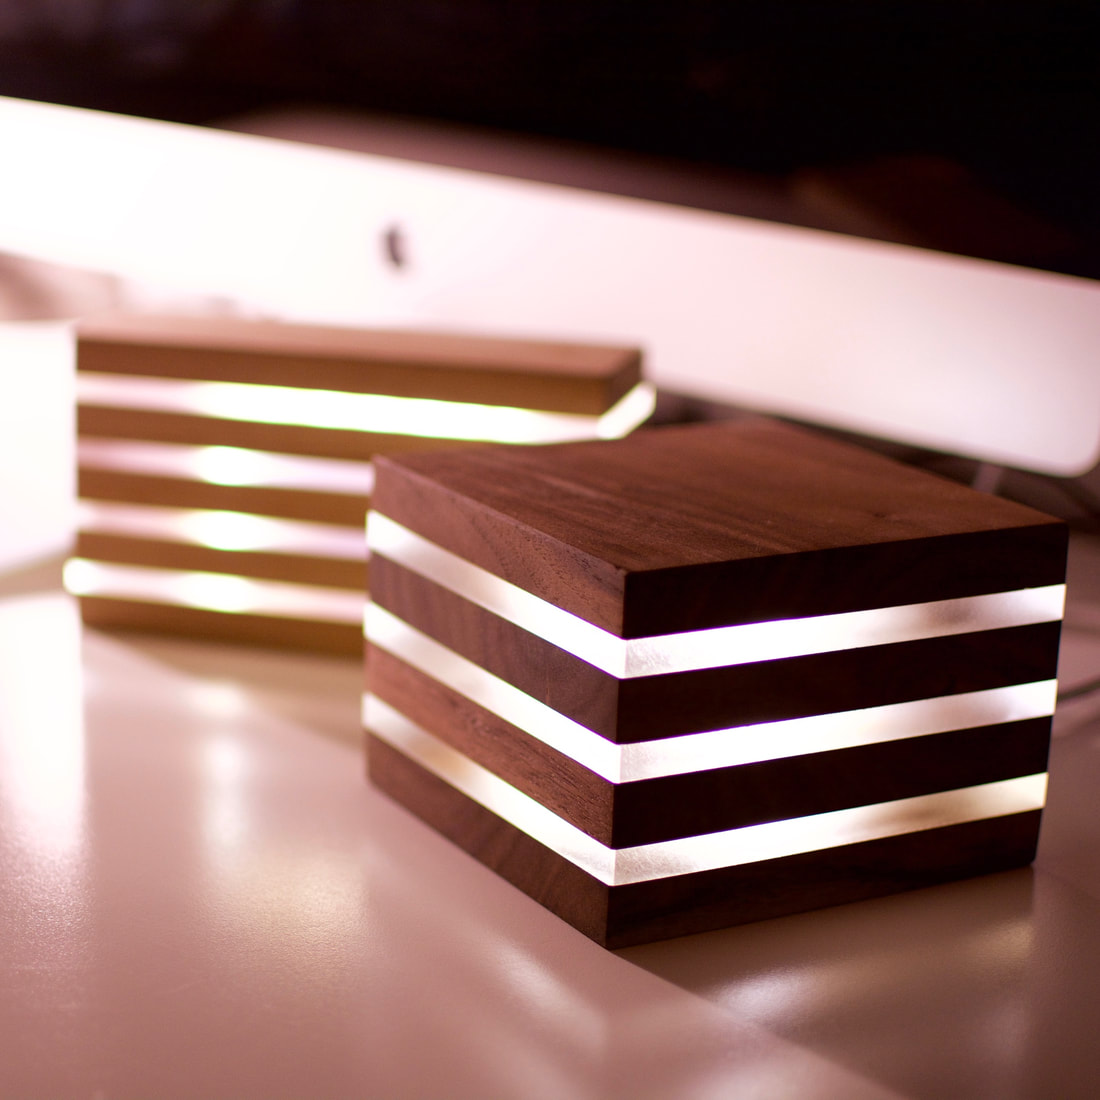 This was an entirely new project for me. I've always been fascinated with edge-lit acrylic and I figured it would make for a nice desk lamp. The sanded edges of the acrylic pieces send off a diffused glow that works great for a desk or reading lamp. The LED strip inside is cheap and safe since there is no wiring involved. As with all power tool Instructables, please use proper PPE and follow all safety protocols for each machine. This Instructable is aimed to provide everything you need to make one for yourself. But if you have any questions, send them my way. Step 1: Gather Materials and Tools
Tools needed:
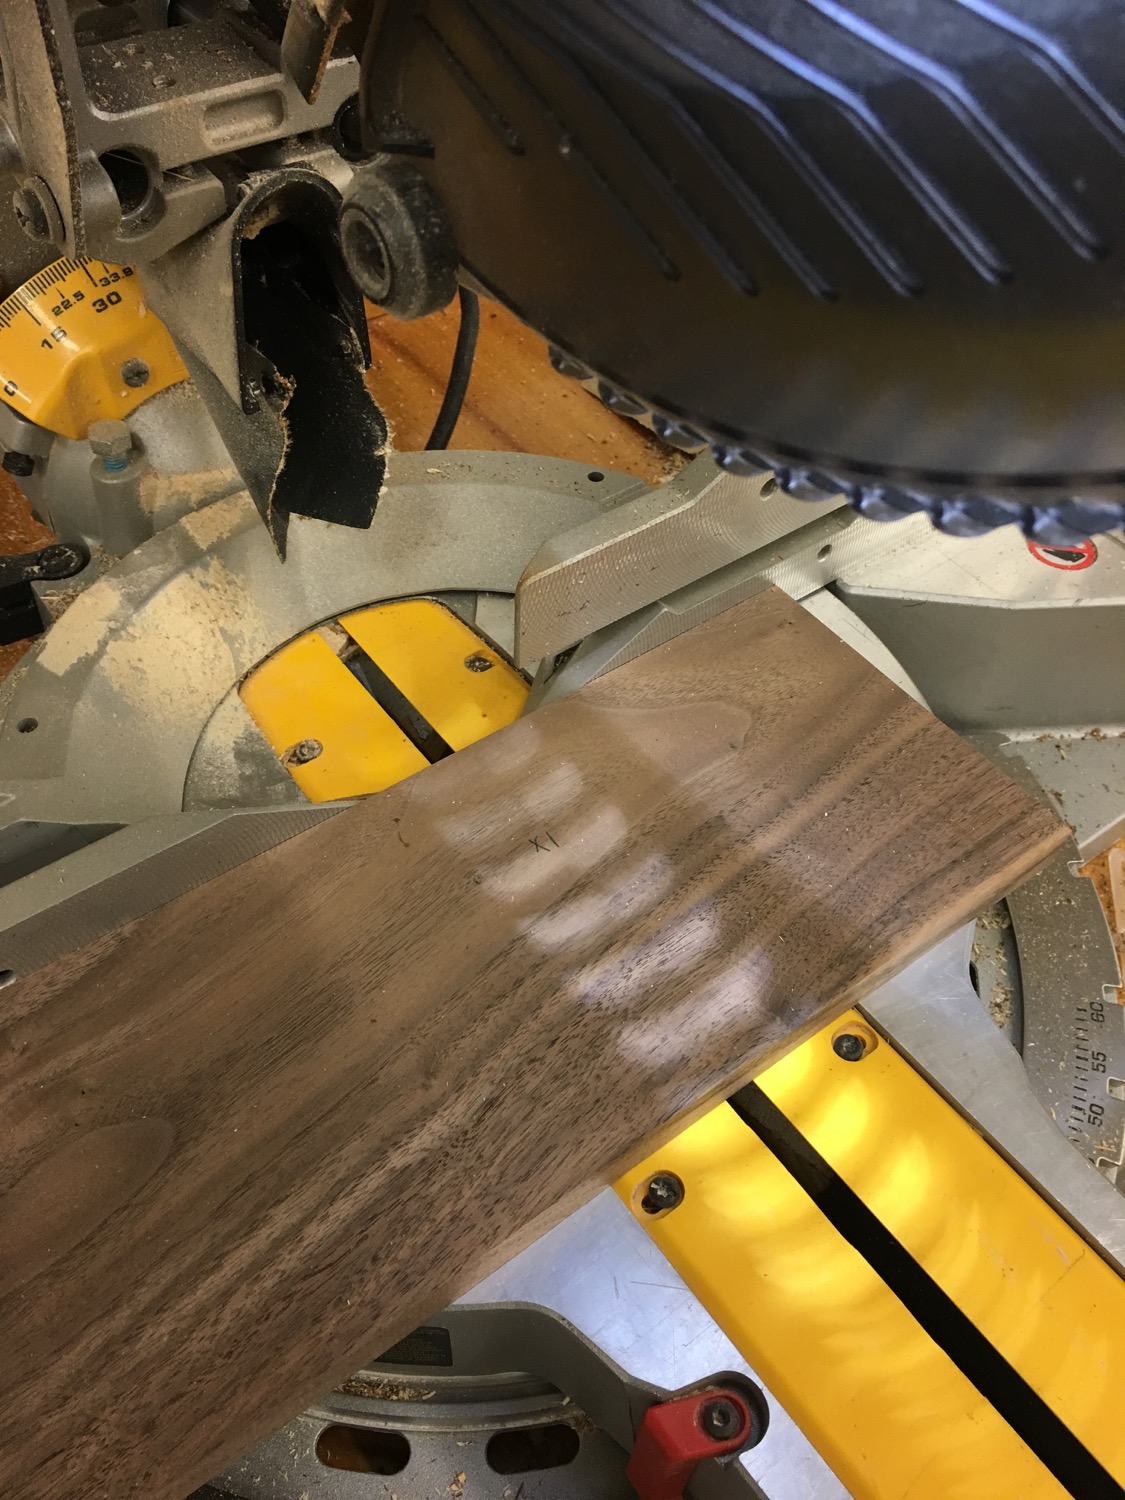
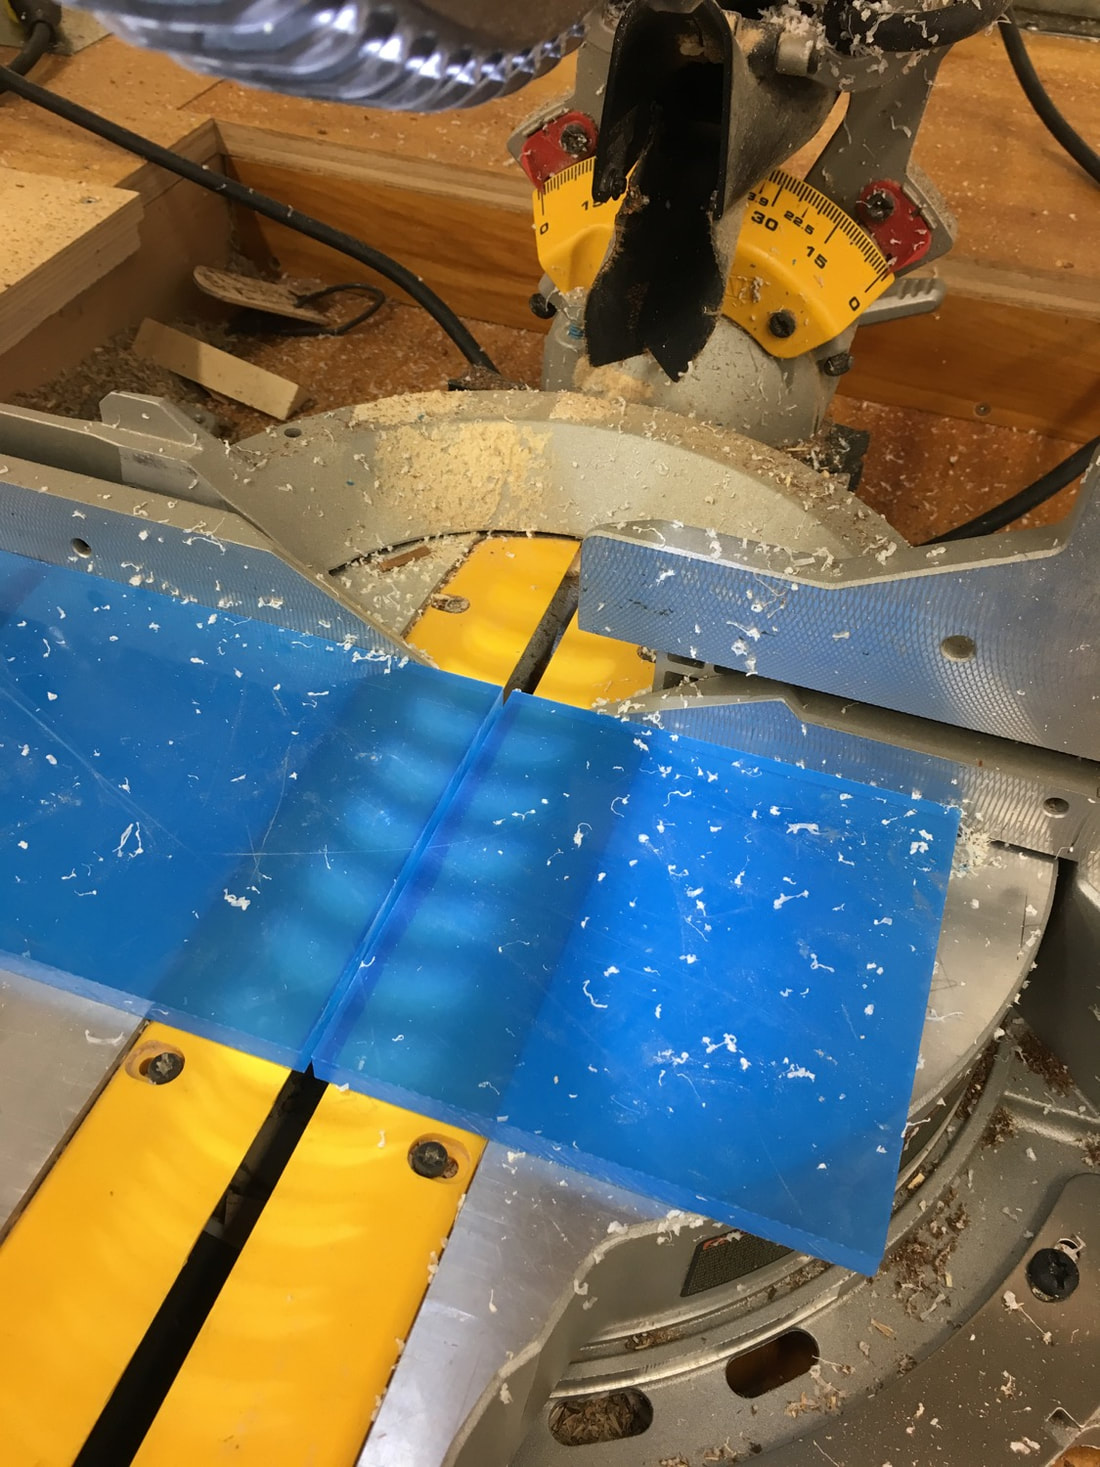
Step 2: Cut to Size
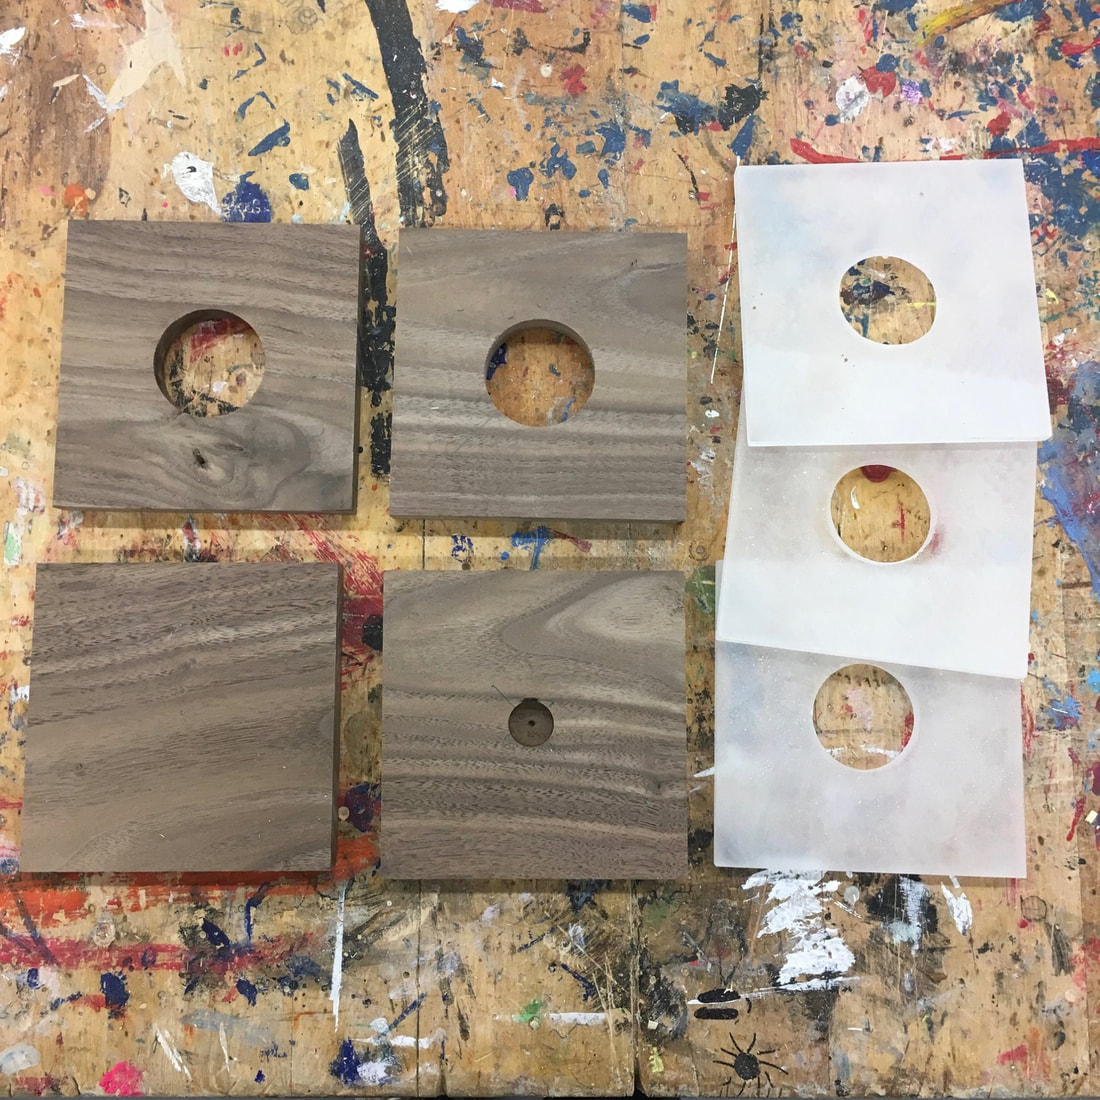
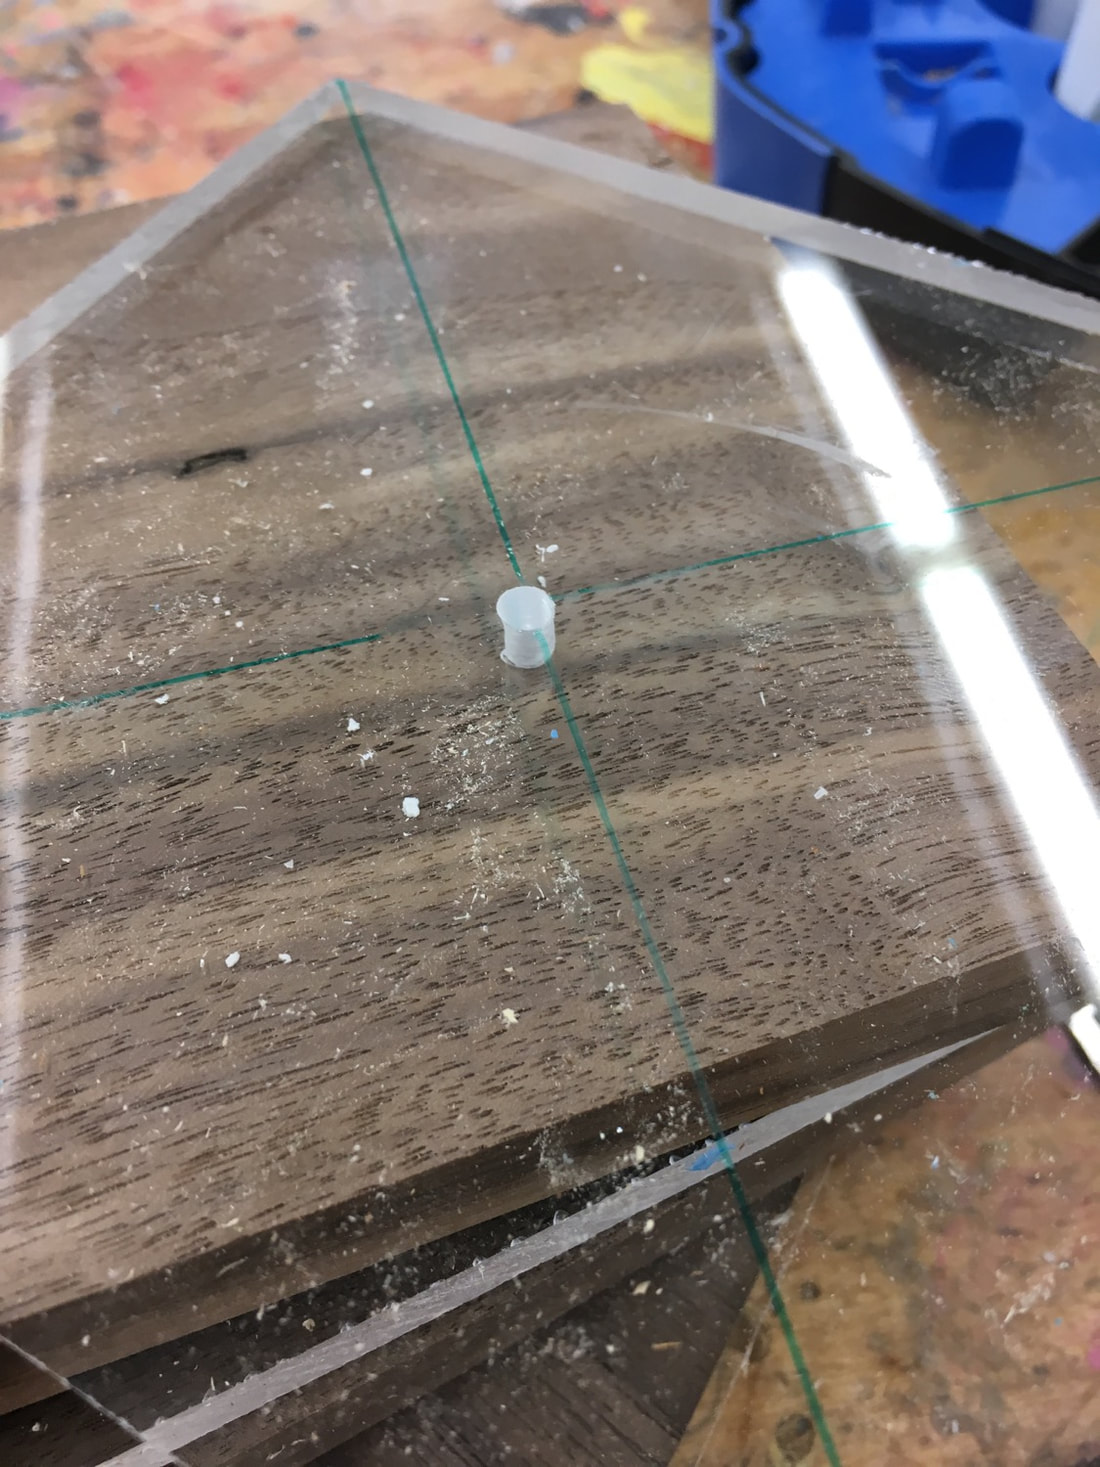
The wood and the acrylic have to be the exact same size. This is especially true if you don't have a belt sander to true them up later on. I like the look of a square lamp. So all these pieces, both acrylic and walnut, were cut to 5" x 5". Step 3: Drill Center Cavity
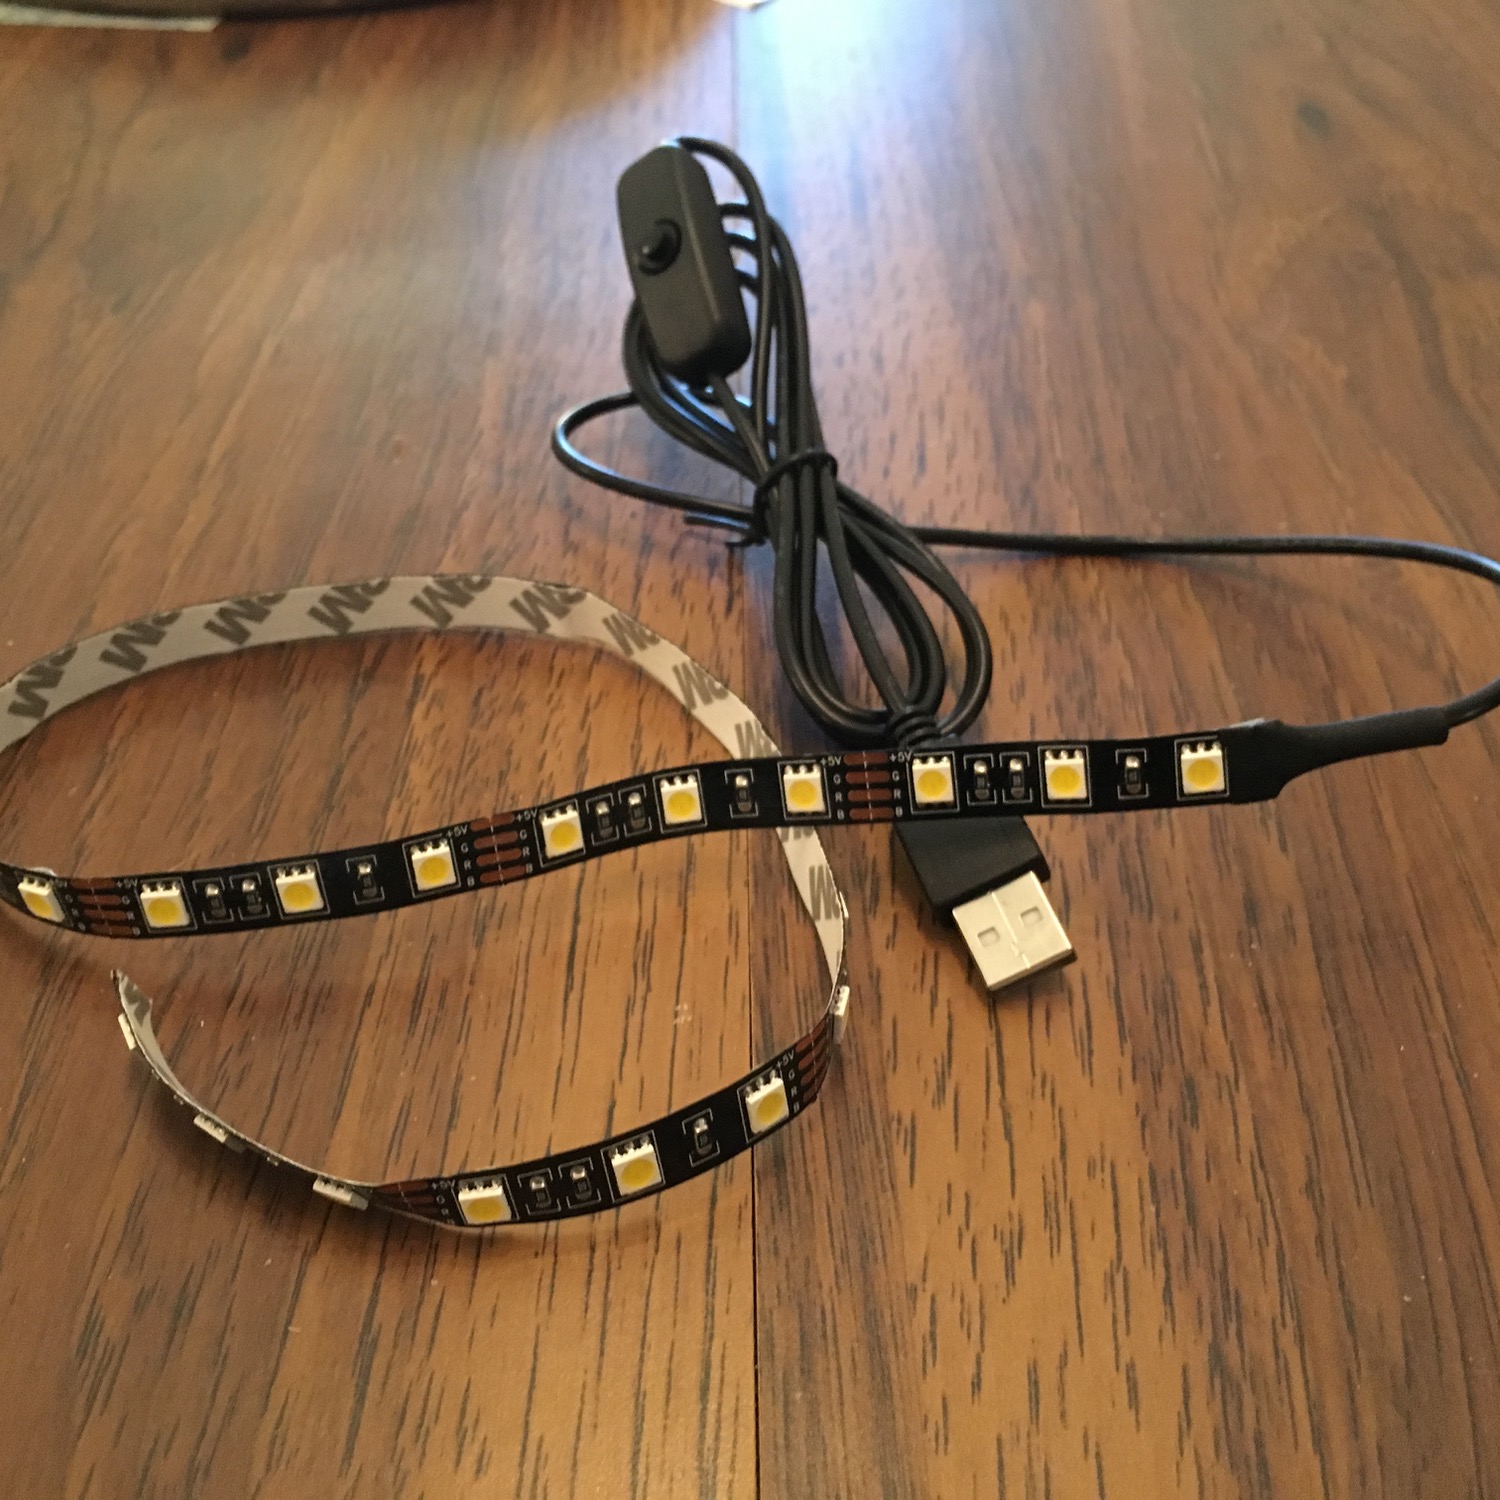
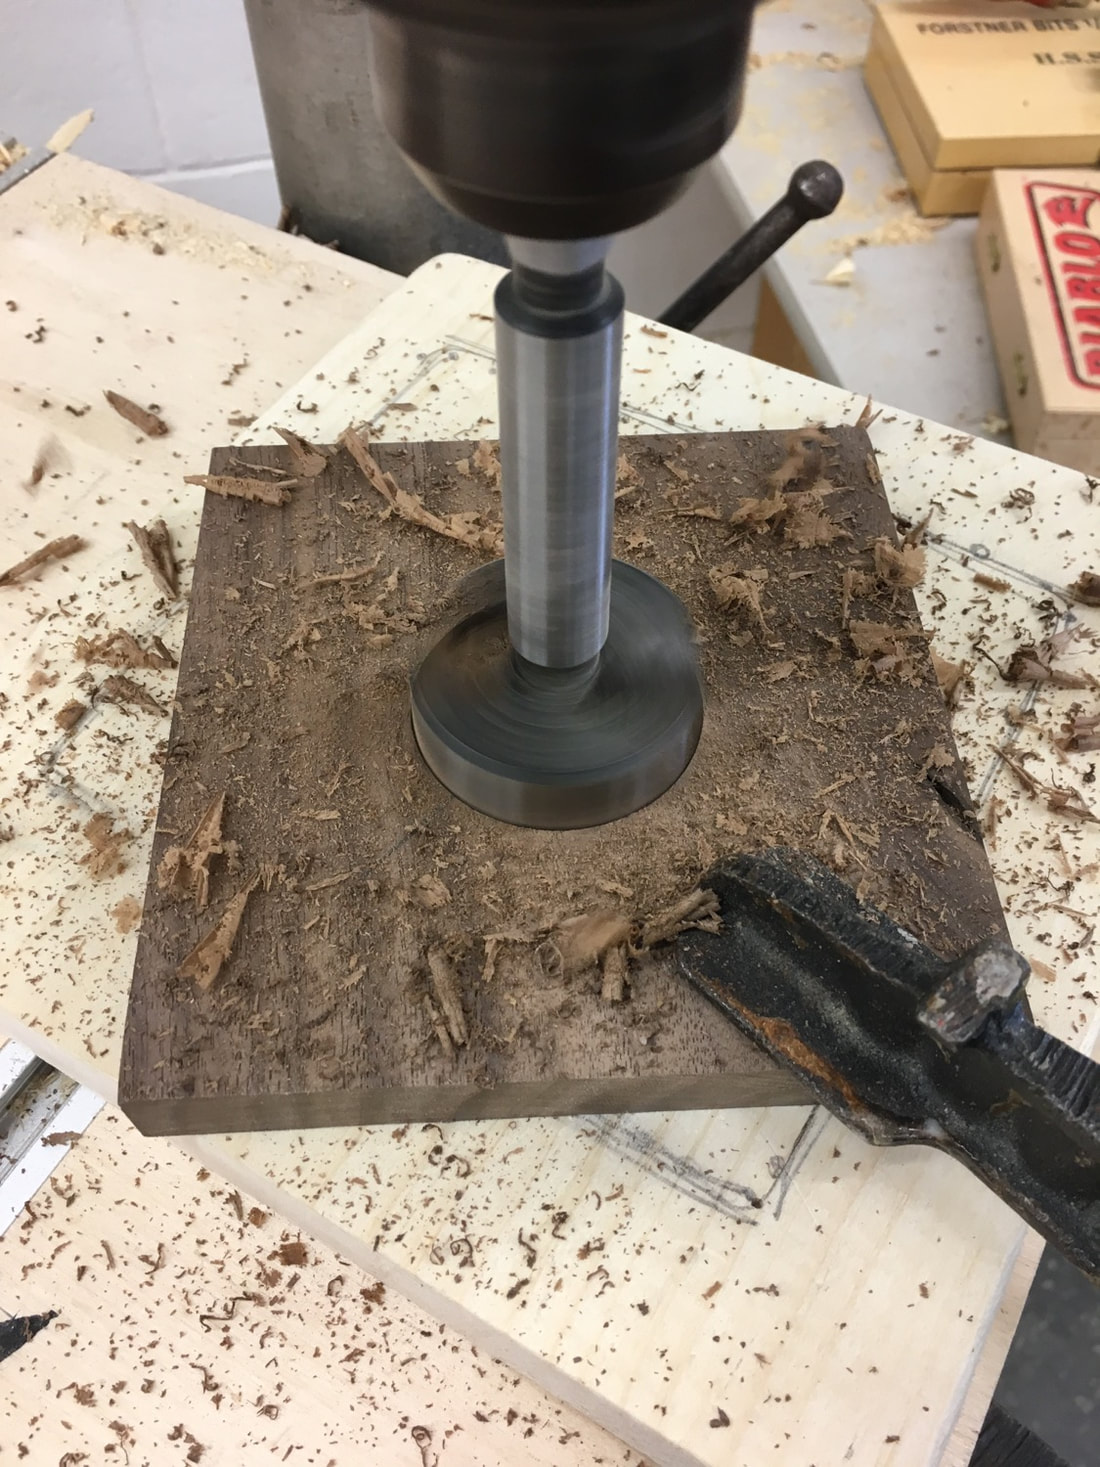
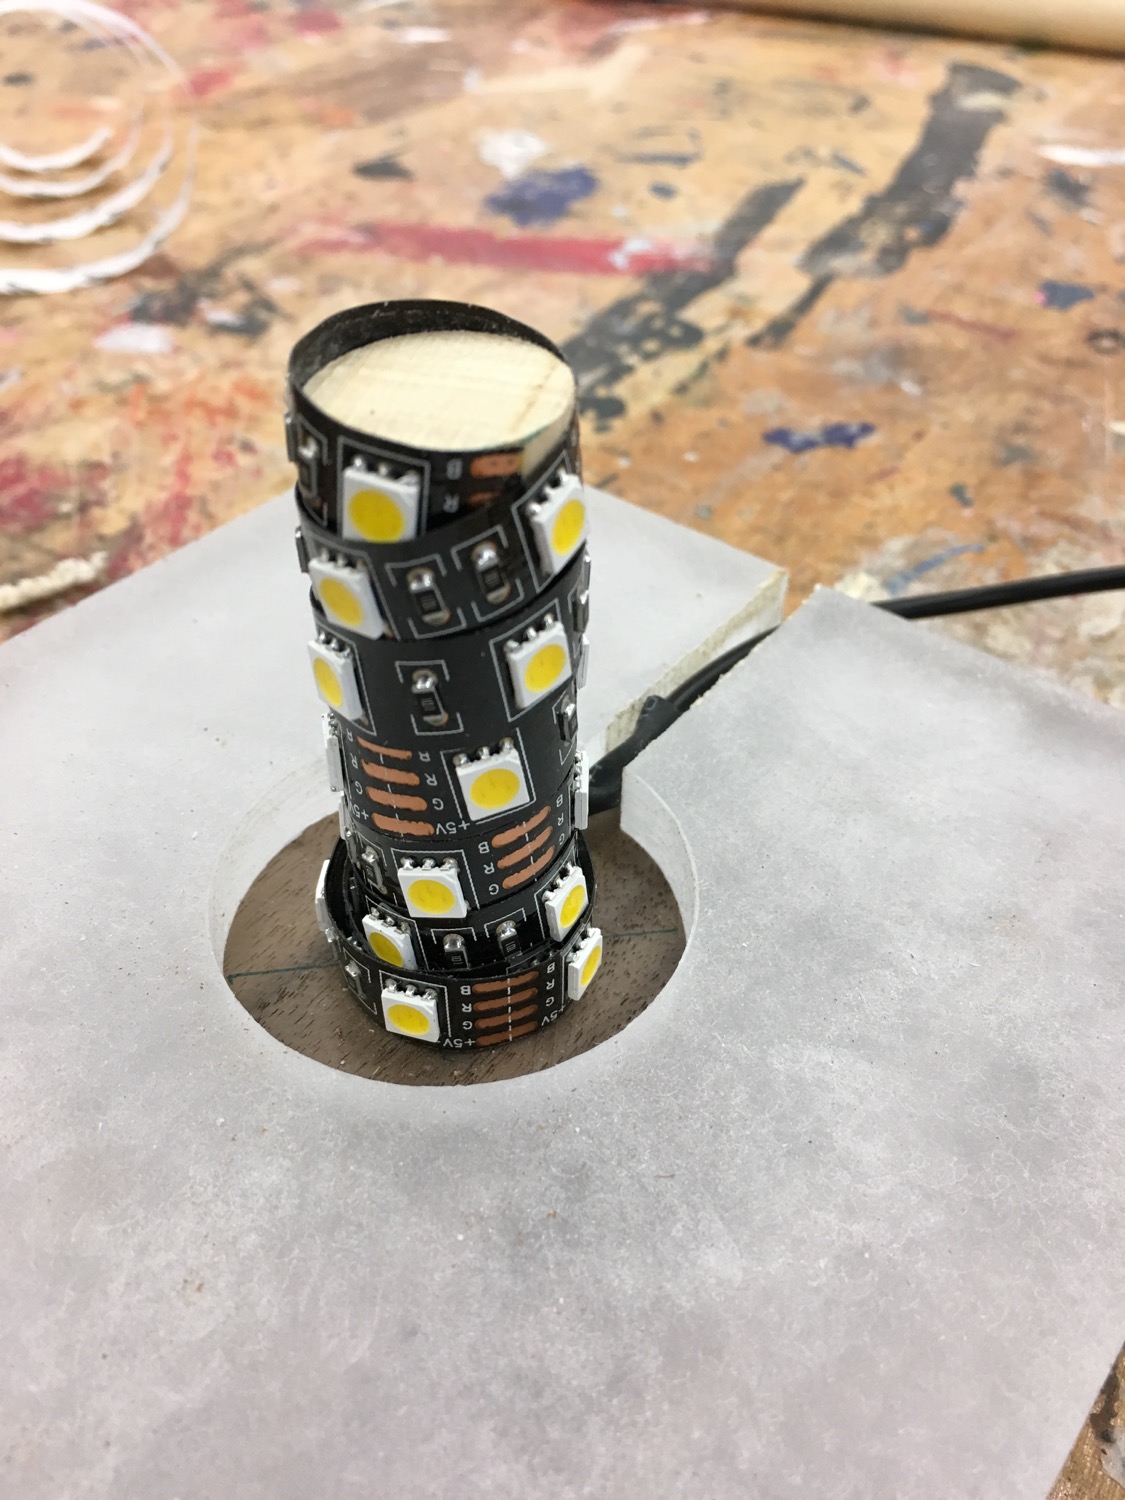
This is where the LED strip will sit and the light will come from. It isn't super important to be dead accurate with your cuts since it will be hidden on the inside, but it is a good idea to make some centre holes to line everything up. I used a 1 3/4" hole saw to cut through the wood and acrylic. Acrylic is a tough material to work with and I made sure to take every safety precaution when drilling these pieces. They can catch and spin if not clamped down tight. The centre dowel sits in a 3/4" hole on the bottom piece. Step 4: Attach LED Strip
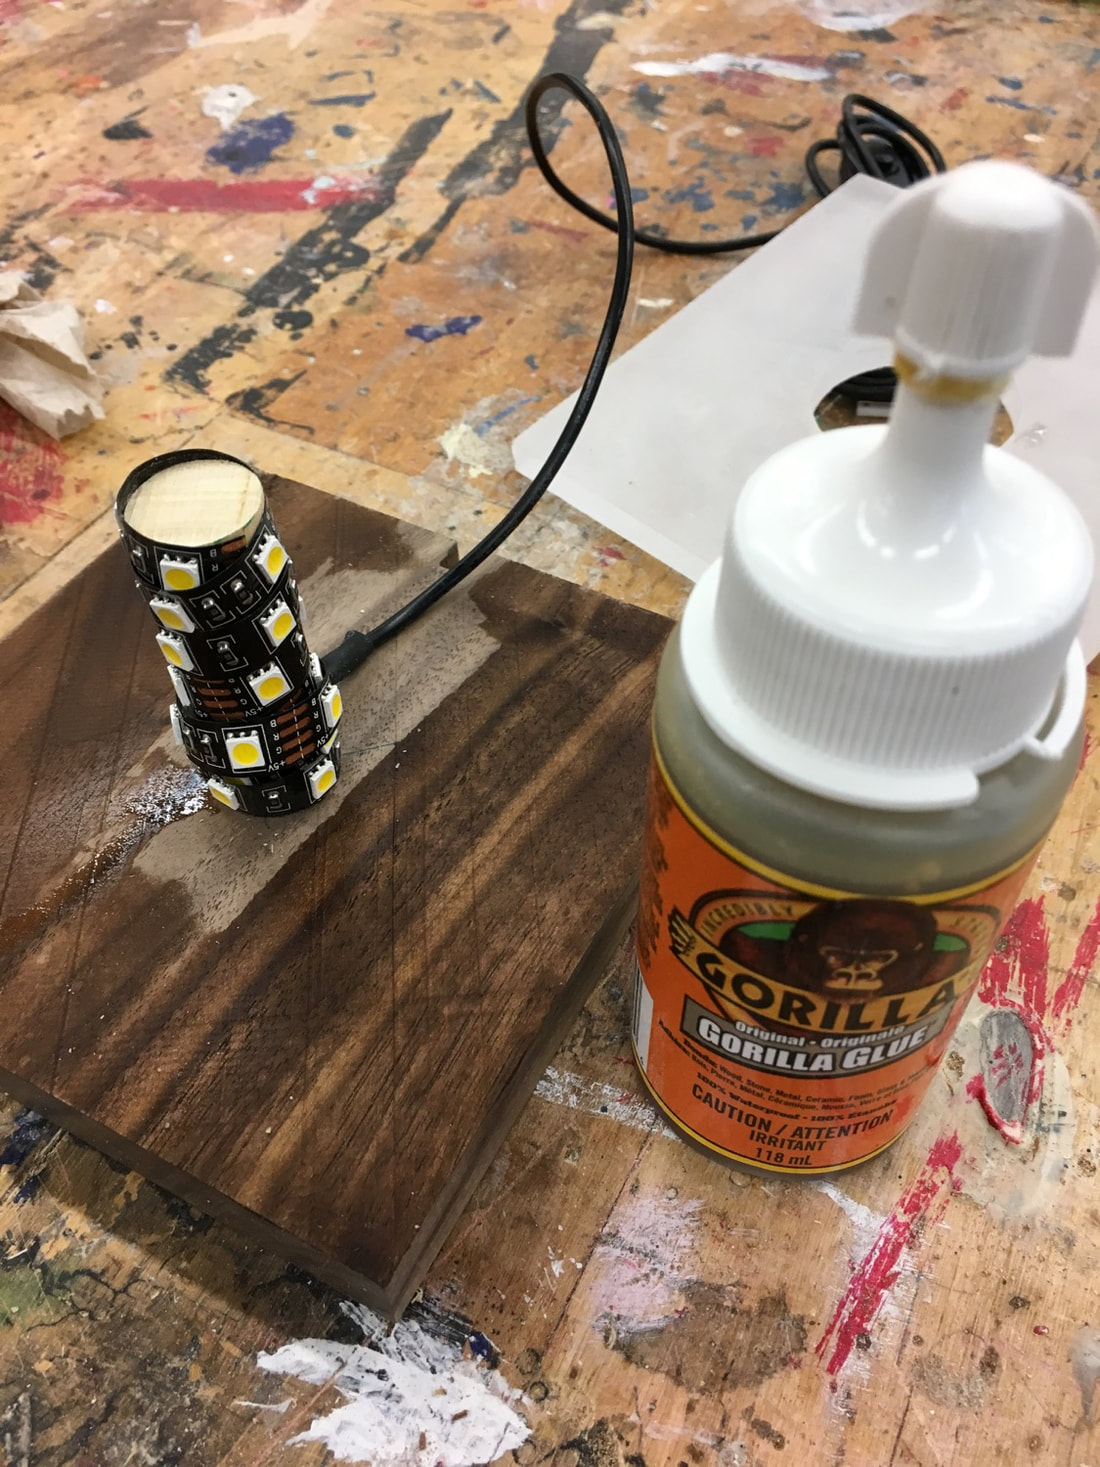
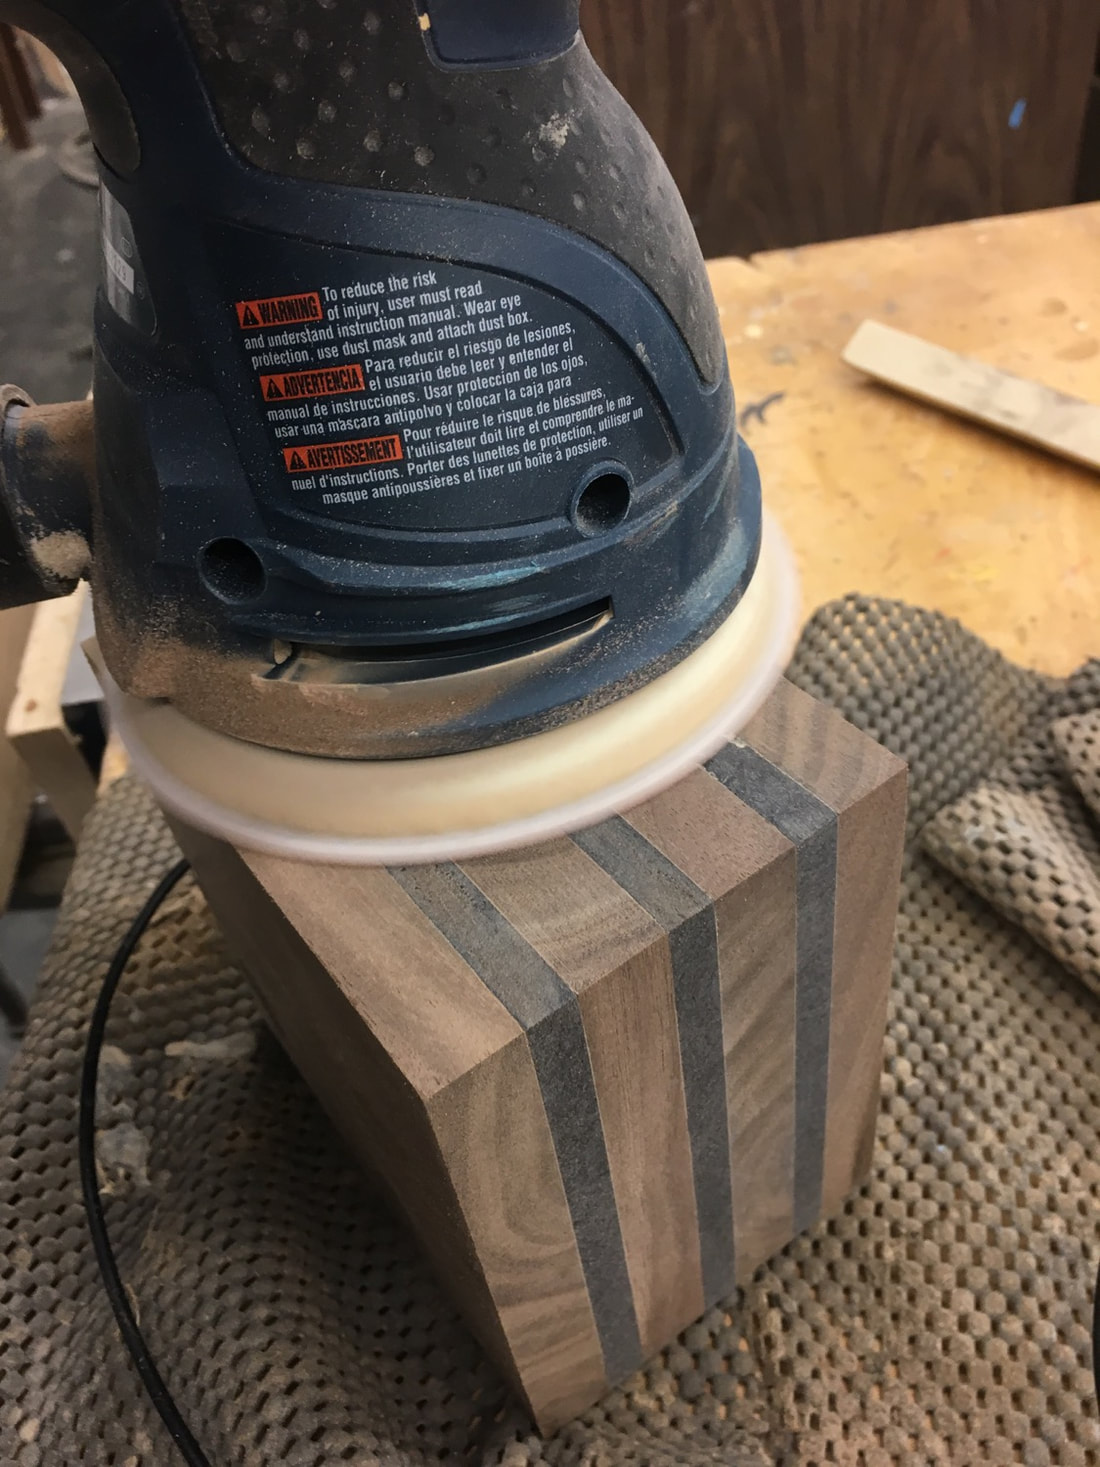
The LED strip is attached to the 3/4" dowel with the adhesive backing. Wrap it around and secure it. It doesn't matter what the orientation of the bulbs are because the glow of the acrylic will diffuse the glow. There is a little slit cut into the bottom piece of acrylic to allow the cord to exit the lamp. I used a bandsaw to make this cut, but a jigsaw, handsaw, or hacksaw will work. Step 5: Glue and Clamp
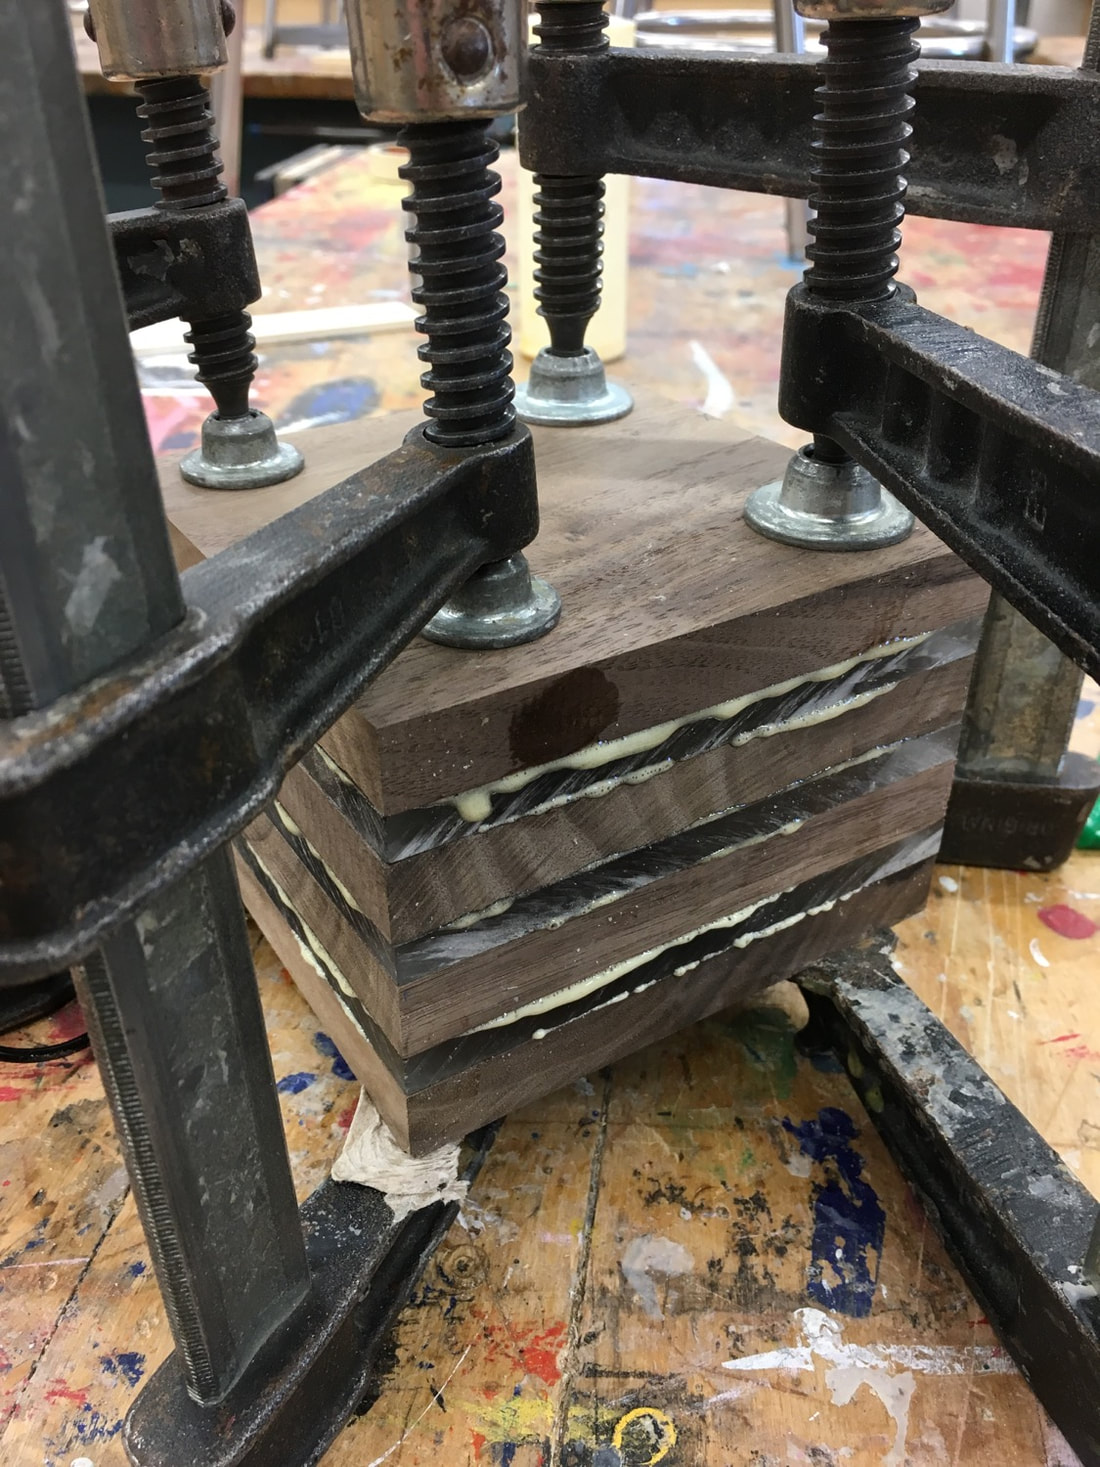
Once all your pieces are cut and the LED strip is in place, it is time to glue. Gorilla Glue will work best for this because you are joining plastic to wood. Be aware that Gorilla Glue expands greatly and will leak out the sides if you use too much. I orientated the boards so that the end grain was alternating. Clamp in place and allow to set. Step 6: Sand the Sides
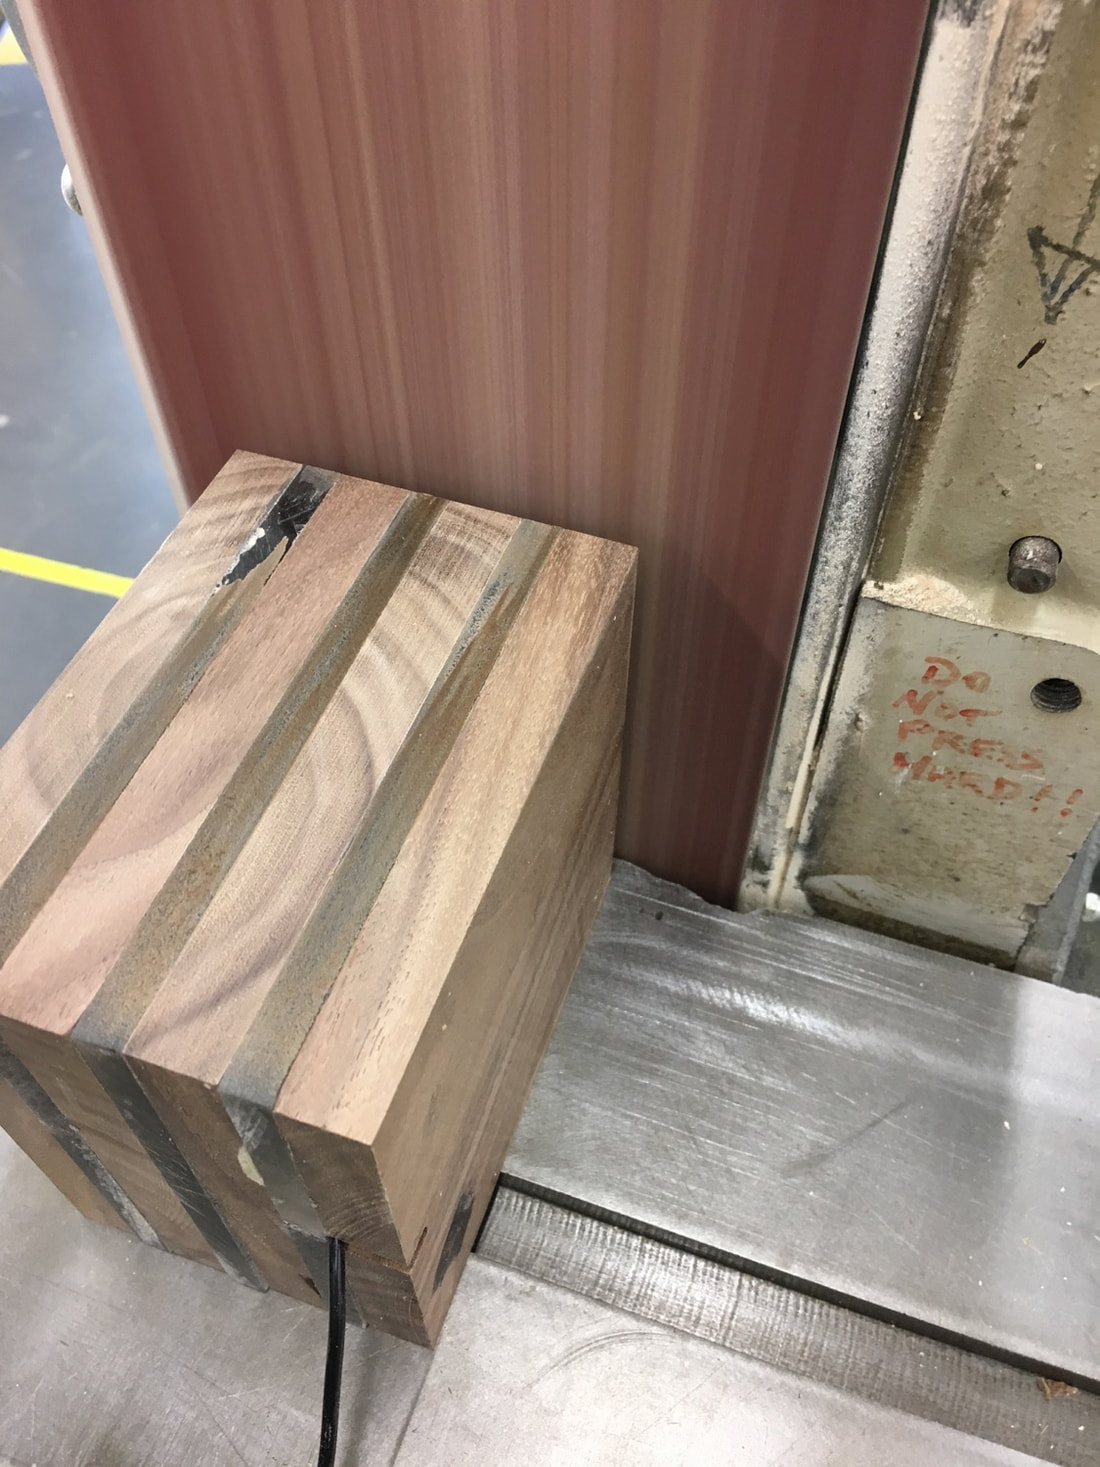
After the glue has set, scrape off excess glue and sand to finish. Using the belt sander speeds up the process of finishing the sides, but a palm sander will suffice. Be cautious of burning and melting the acrylic on the belt sander. Take small passes and allow the plastic to cool. I used grits from 80-220 on the palm sander to get a great finish on the wood and acrylic. Step 7: Finish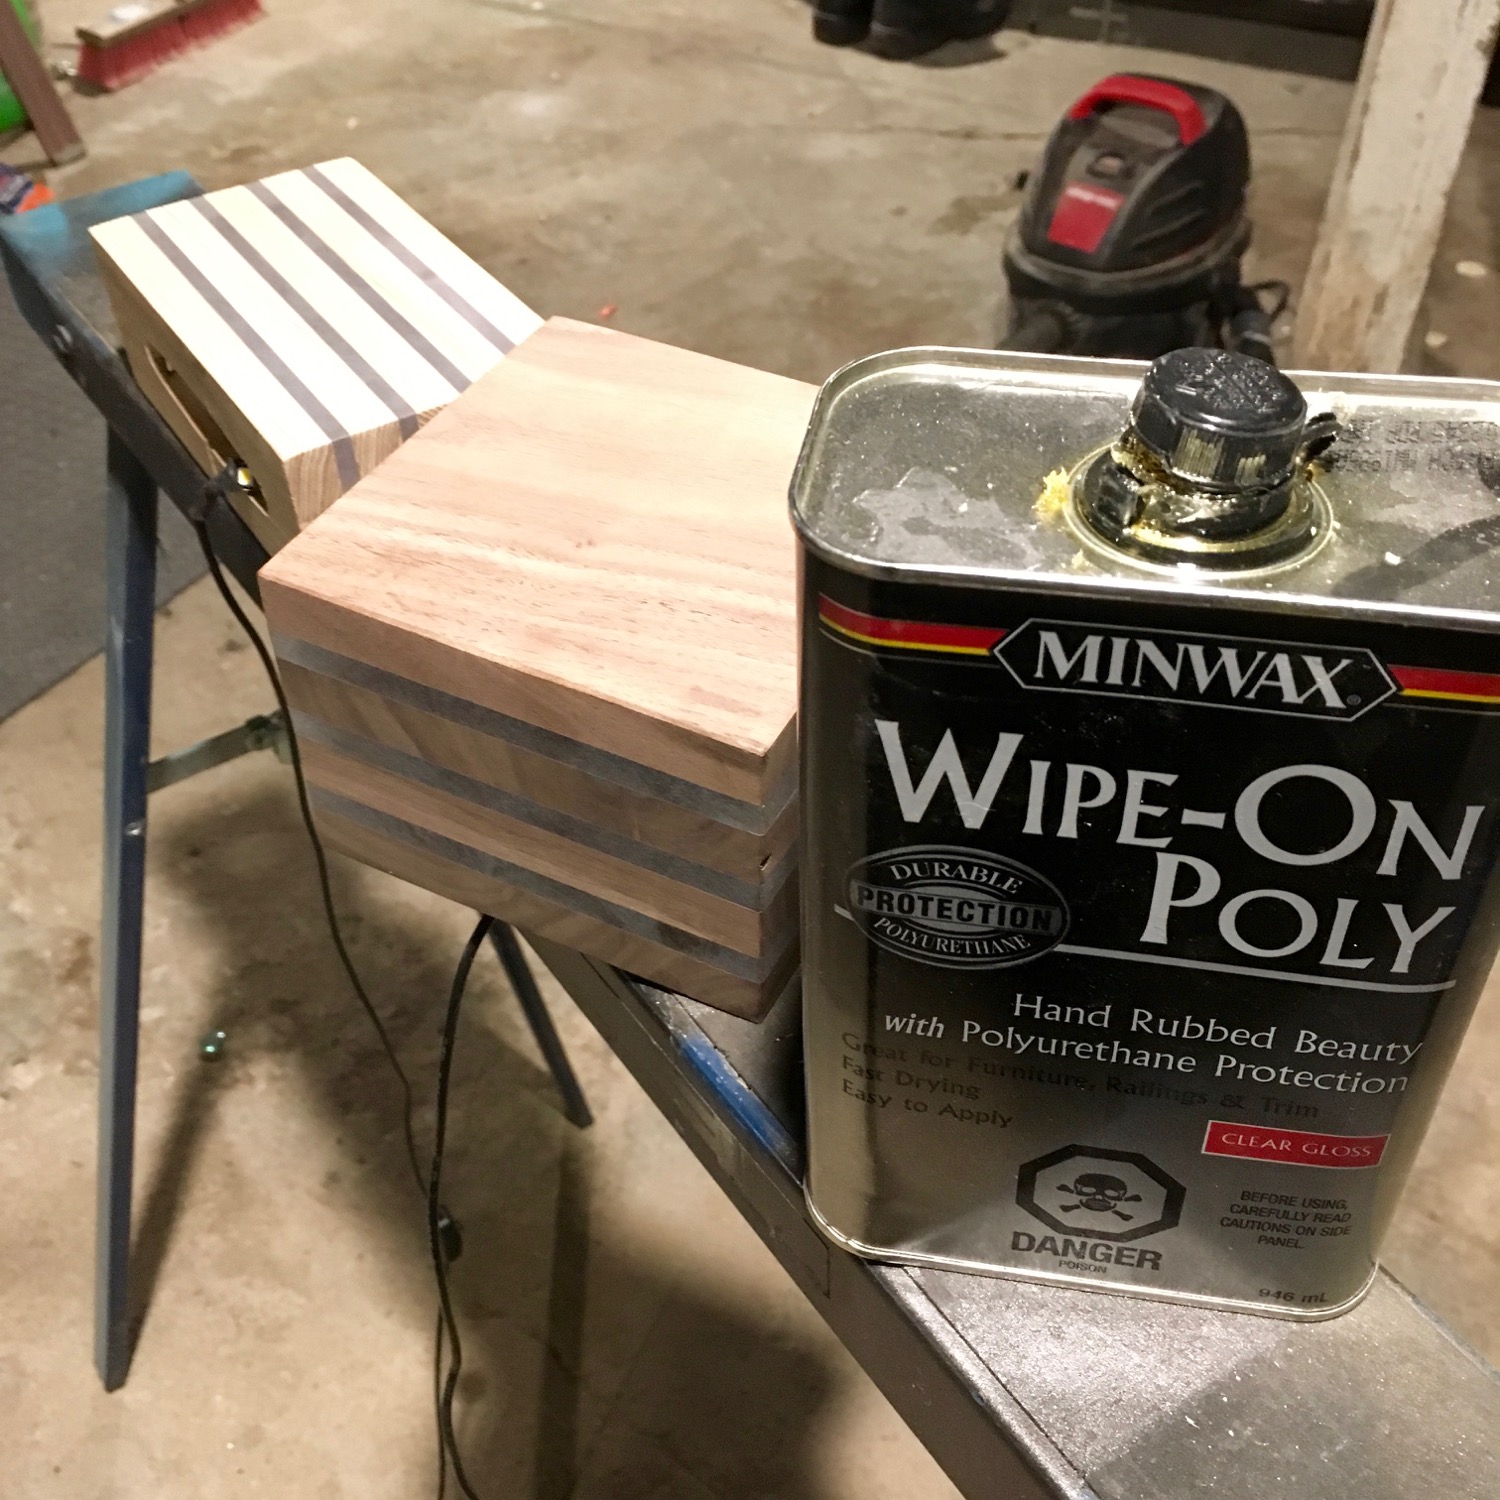 Minwax wipe-on poly gives a great finish to the wood and acrylic. Super easy to apply. Just wipe on, wipe off, Daniel san. Let dry and then it's time to enjoy your lamp! Step 8: Make Different Sizes This project can be customized to so many different dimensions and styles. It's up to you and your creativity to stack different sizes of wood and plastic and create something unique. 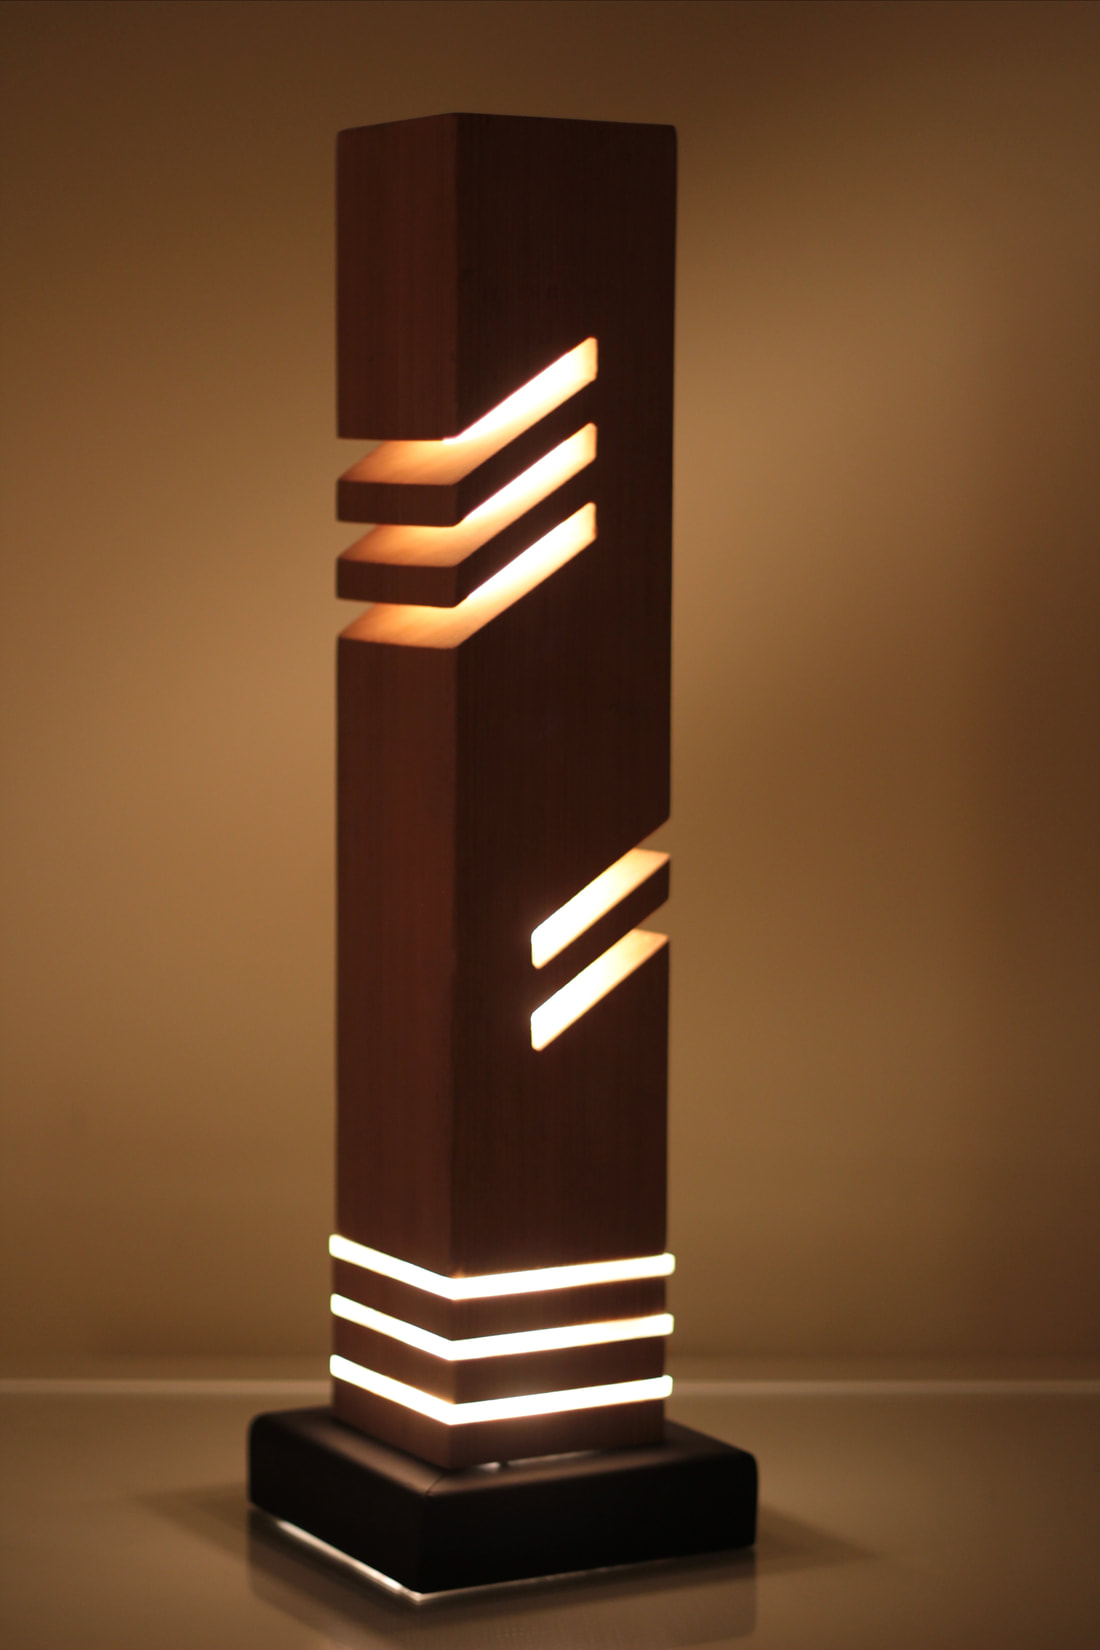 Get access to 16,000 woodworking plans >>
0 Comments
Leave a Reply. |